How To Setup the EVOM™ Auto TEER Measurement System
Have you got the new EVOM Auto TEER Measurement System for 96-well HTS plates? This short videos shows how easy it is to setup.

Step 1. Remove the lid of the Autosampler
Step 2. Unscrew the knob
Step 3. Remove the Electrode Carrier Cover
Step 4. Replace the knob
Step 5. Unbox the Electrode Array Head
Step 6. Remove the red electrode protection shield by releasing the velcro strap
Step 7. Install the Electrode Array Head
Step 8. Connect the Interface Unit to the Autosampler using the interface cable. Align the connector to the interface unit socket for proper connection
Step 9. Connect the power supply adapter to the Interface unit
Step 10. Plug the power supply cord into an outlet
Step 11. Install the provided WI-FI adapter into any one of the four USB ports on the side of the Interface Unit
Step 12. Install the rinse station
Step 13. Install the well plate (not included) by releasing the plate lock & aligning with the metal pins on the autosampler's base
Step 14. Place the lid back on the unit
EVA-MT-03-01
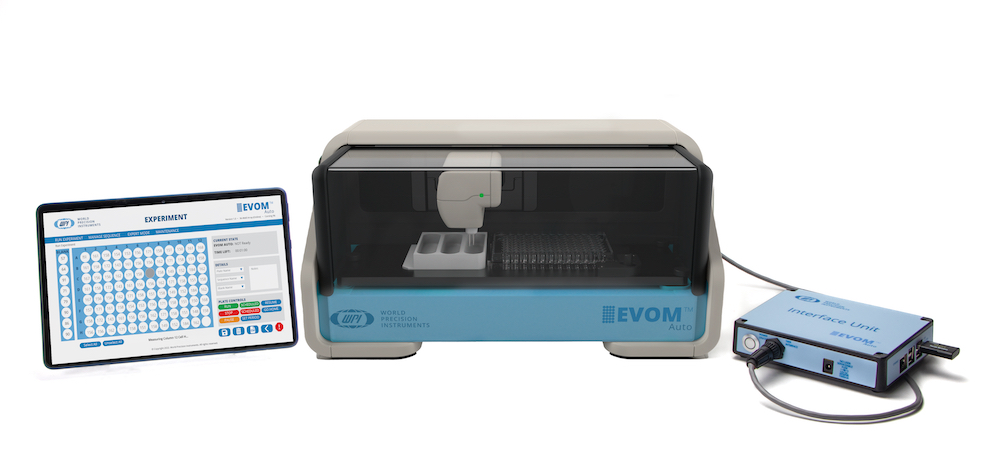
EVOM Auto For TEER Measurement in 96 HTS Plate
System includes:
- EVOM™ Auto Autosampler
- HTS Electrode Array for 96 HTS Plates
- Interface Unit and Cable
- Control iPad with software
EVA-MT-03-02
EVOM Auto For TEER Measurement in Corning 24 HTS Plates
System includes:
- EVOM™ Auto Autosampler
- HTS Electrode Array for Corning 24 HTS Plates
- Interface Unit and Cable
- Control iPad with software


Request
Catalogue
Chat
Print